
Installation instructions for setting up a local Raspberry Pi cluster at your home desk.
- Operating System on SD Card
- Network Setup
- RPi Configuration
- SSH Config
- Verification
- Troubleshooting
- Summary
Raspberry Pi OS image that supports a 64 bit system. There are beta versions but with limitations. This blog post won’t cover them until officially released. 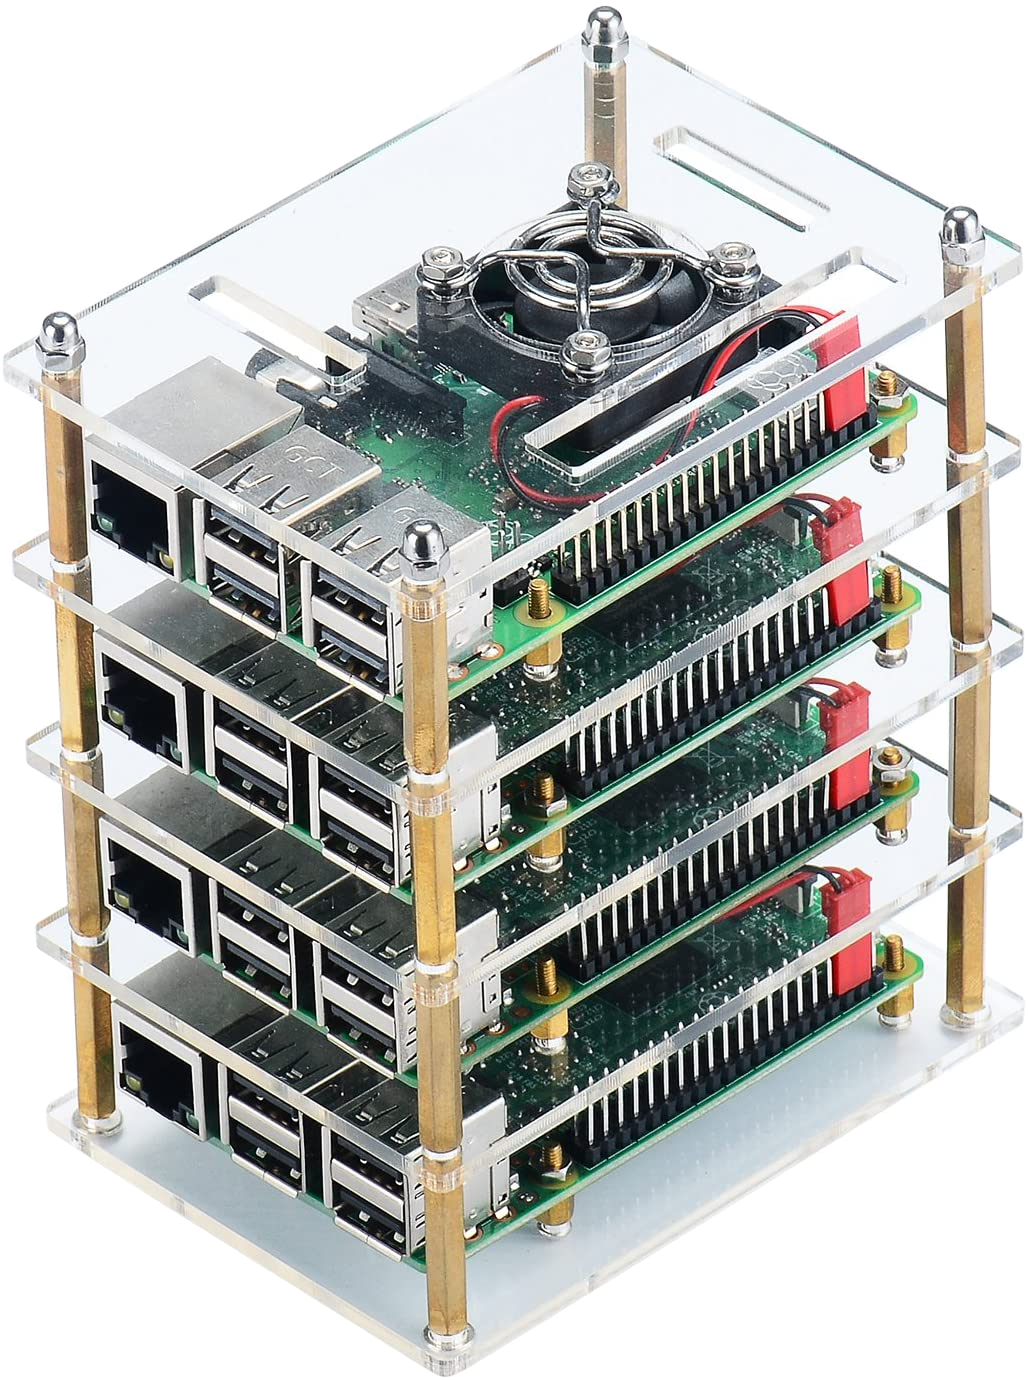
Operating System on SD Card
- Connect the SD card to your local machine (laptop / desktop)
- Download
Raspberry Pi OS Lite (Debian Buster)image from here - Flash OS image using
Raspberry Pi Imageras specified in here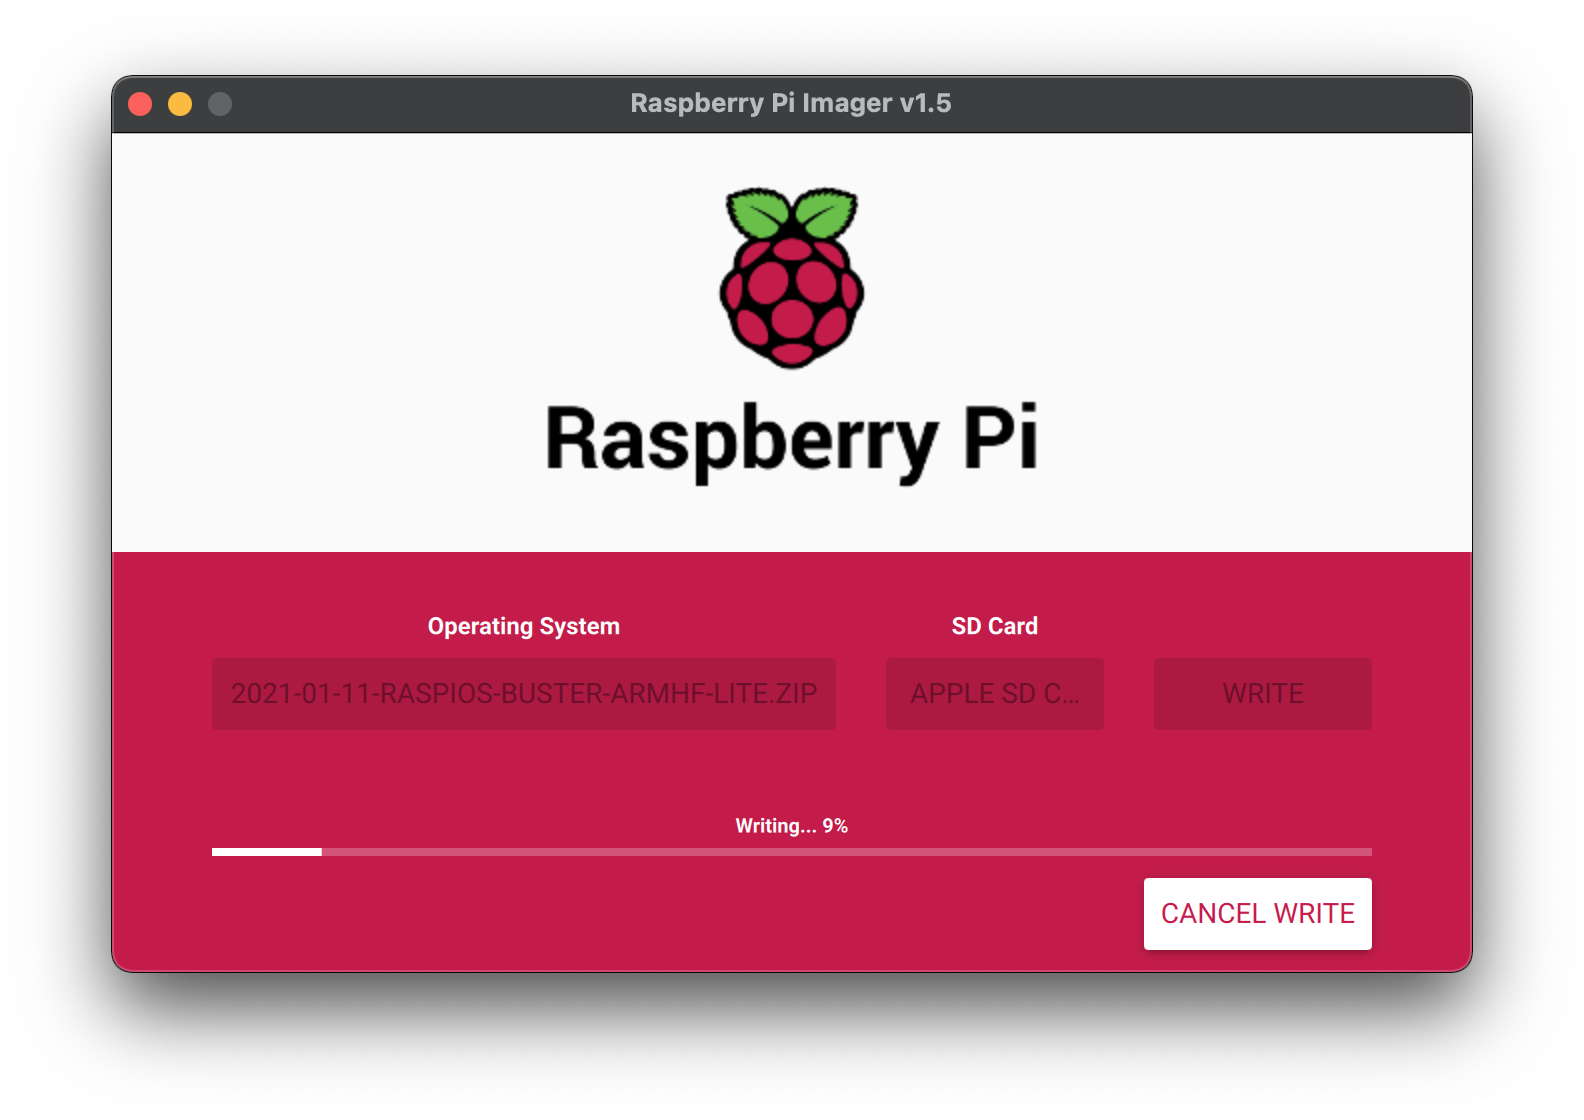
- After flashing, eject and re-connect the SD card again to your local machine
- Check for
bootconnected device - Mount the SD card
-
Open a terminal session and create a text file named
sshin the boot partition1 2 3 4 5
# If you are working on macOS sudo touch /Volumes/boot/ssh # Other Unix-like operating system sudo touch <path-to-rpi-boot-volume>/ssh
- Eject the SD card and connect it to the Raspberry Pi
Network Setup
- Power up the RPi and connect directly to the home router
-
Open the router network dashboard
Note: Your router dashboard address might differ, check with your router manufacture guide. - Verify under
LAN settings->Client Listthat there is a newraspberrypiclient - Assign a static IP address using this guide
RPi Configuration
- SSH into the server using
ssh pi@<RPI-IP-ADDRESS>with an IP address from previous step and the default passwordraspberry -
Set the GPU memory split to 16MB by editing the RPi configuration file
sudo vi /boot/config.txtand appendinggpu_mem=16to itNote: We specify the minimum memory possible to reserve for GPU (display) since we won’t require user interface. - Reboot using
sudo rebootfor changes to take effect - SSH again to the RPI server and type
sudo raspi-config. Edit the following settings:- Change the password for the
piuser (recommended) - Set the hostname to your liking
-
Make sure SSH server is enabled
Note: If you are planning on using this server as a Kubernetes master - name itkmaster. If it is a Kubernetes node, name itknode<number>while<number>is the next in-line number of your cluster stack.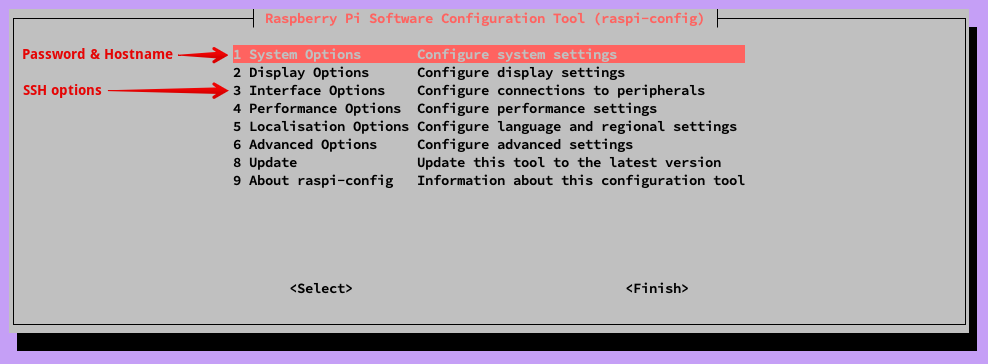
- Change the password for the
- Close the SSH session and reconnect to the RPi server again
- Verify hostname was properly set and force manual replacement, if required. From the RPi terminal:
- Run
cat /etc/hostnameand check forkmaster - Run
cat /etc/hostsand check for127.0.1.1 kmaster -
Run
hostnamewhich should returnkmaster, otherwise runsudo hostname kmasterand check againNote: Usekmasterorknode<number>respectively according to the server type if you are setting up a Kubernetes cluster.
- Run
-
Install your favourite utilities on the RPi server:
1
2
# Use Vim as a text editor
sudo apt-get -y install vim
-
Set your preferred aliases on
~/.bashrc:1 2 3 4 5
# Open bash run command file for editing vim ~/.bashrc # List all files/directories including hidden ones with size unit suffixes alias l="ls -lah"
-
(Optional) If you are planning to install the Rancher
k3sversion of Kubernetes, you should enable a few container features by adding them to the end of the/boot/cmdline.txtfile:1 2 3 4 5
# Edit file with sudo sudo vim /boot/cmdline.txt # Append the following cgroup_enable=cpuset cgroup_memory=1 cgroup_enable=memory
SSH Config
We need to configure secure shell access for client <-> RPi server communication. It will allow us to access the RPi server from client machines such as our laptop and also allow secure communication between the RPi server and our locally installed utilities.
Client
These instructions are relevant to the computer being used to connect to the RPi server:
- Create directory
~/.sshif it doesn’t exists and cd into it - Run
ssh-keygen(with namekmaster OR knode<number>, no passphrase) -
Add the private key
kmasterto the ssh agent (select between permanent/temporary)1 2
ssh-add ~/.ssh/kmaster # Add temporary to keychain ssh-add -K ~/.ssh/kmaster # Add permanently to keychain
Note: This will allow a secure communication without prompting for a password every time. -
Copy the public key to RPi server, select one option:
-
Option 1:
1
2
3
4
5
# Master node
ssh-copy-id -i ~/.ssh/kmaster.pub pi@<RPI-IP-ADDRESS>

# Worker node
ssh-copy-id -i ~/.ssh/knode<number>.pub pi@<RPI-IP-ADDRESS>
Important: For this step you will need to authenticate with your password. A file named~/.ssh/authorized_keysis auto-created with the public key content on the RPi server. -
Option 2: (Manual)
Copy the content of
kmaster.pub/knode<number>.pubdirectly to the RPiauthorized_keysfile:1 2 3 4 5
# Master node cat ~/.ssh/kmaster.pub | ssh pi@<RPI-IP-ADDRESS> 'mkdir -p ~/.ssh && cat >> ~/.ssh/authorized_keys' # Worker node cat ~/.ssh/knode<number>.pub | ssh pi@<RPI-IP-ADDRESS> 'mkdir -p ~/.ssh && cat >> ~/.ssh/authorized_keys'
Important: For this step you will need to authenticate with your password.
-
-
(Optional): If you have defined a static IP for the RPi server as described in here, add named hosts records on your client machine:
1
2
3
 # Use names instead of IP addresses
 echo -e "192.168.1.200\tkmaster" | sudo tee -a /etc/hosts
 echo -e "192.168.1.201\tknode1" | sudo tee -a /etc/hosts
RPi Server
These instructions are intended for the RPi server to enable SSH communication:
-
Disable SSH
PasswordAuthentication:- Edit
ssh_configbysudo vim /etc/ssh/ssh_config - Uncomment
PasswordAuthenticationby removing the#prefix - Change its value to
no - Make sure
PasswordAuthenticationis properly aligned (4 spaces)
- Edit
-
Restart SSH server
1
2
sudo /etc/init.d/ssh restart
sudo /etc/init.d/ssh status   # Verify SSH server is running
Verification
To verify everything is set-up correctly, try to connect from the client machine i.e. laptop to the RPi server with the following command:
1
2
ssh pi@kmaster
ssh pi@knode<number>
Troubleshooting
Locale
What? Locale errors/warnings when connecting to a RPi server and/or running locale on a server node. These are a few example errors:
1
2
3
4
setlocale: LC_ALL: cannot change locale (en_US.UTF-8)
locale: Cannot set LC_CTYPE to default locale: No such file or directory
locale: Cannot set LC_MESSAGES to default locale: No such file or directory
locale: Cannot set LC_ALL to default locale: No such file or directory
Solution: We’ll set our locale to en_US by running the following steps:
- SSH to the RPi server
- Edit the
locale.genfile usingsudo vi /etc/locale.gen - Uncomment the line with
en_US.UTF-8by removing the#character (make sure there are no leading spaces) - Run
sudo locale-gen en_US.UTF-8 - Run
sudo update-locale en_US.UTF-8 - Run
localeto make sure there are no errors/warnings
Summary
By the end of this post you should have a working headless (non-GUI) Raspberry Pi(s) connected to your home network with SSH communication available, good job ! :clap:
What now? You are welcome to check back for a future blog post on how to install Kubernetes on top of your amazing RPi cluster.
Please leave your comment, suggestion or any other input you think is relevant to this post in the discussion below.
Thanks !
Credits: Logo by raspberrypi.org

Discussion